VS Code IDE
Follow these 10 easy steps to download and set up VS Code, one of the most popular code editors for programming.
Step 1: Visit the Official Website
Go to the official Visual Studio Code download page: Download
.webp)
Step 2: Choose Your Operating System
Click the “Download for Windows” button to start downloading the installer.
Make sure you select the correct version for your operating system (Windows, macOS, or Linux).
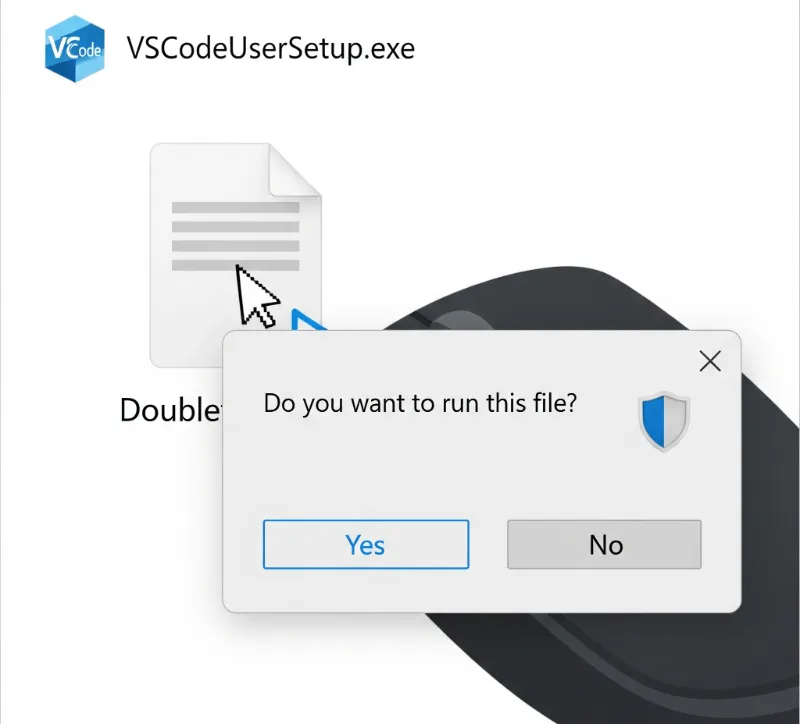
Step 3: Locate the Downloaded File
Once downloaded, go to your Downloads folder.
You will find a file named something like: VSCodeUserSetup-x64-x.x.x.exe
You will find a file named something like: VSCodeUserSetup-x64-x.x.x.exe
Step 4: Start the Installation
Double-click on the installer file to begin the installation process.
Step 5: Accept License Agreement
When the installer opens:
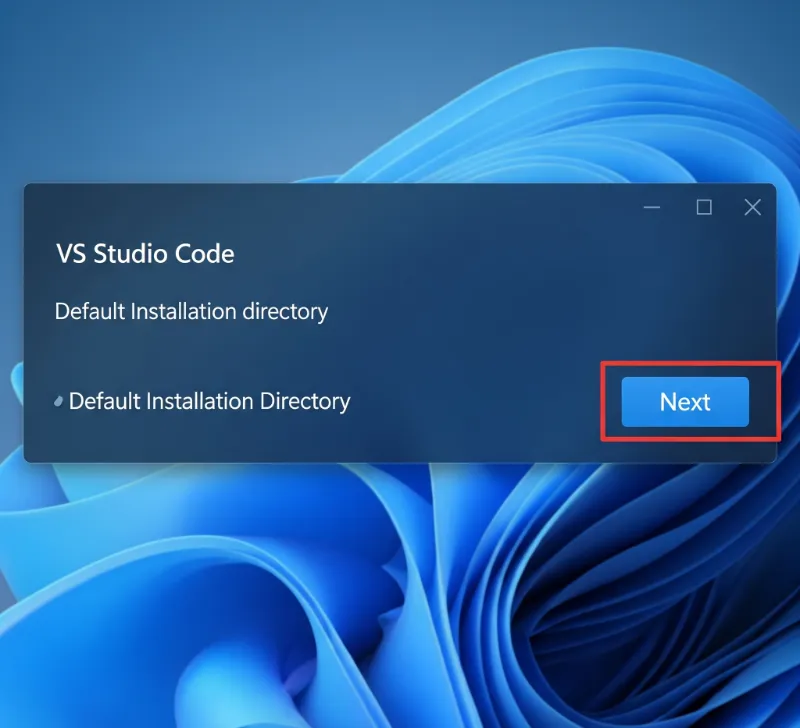
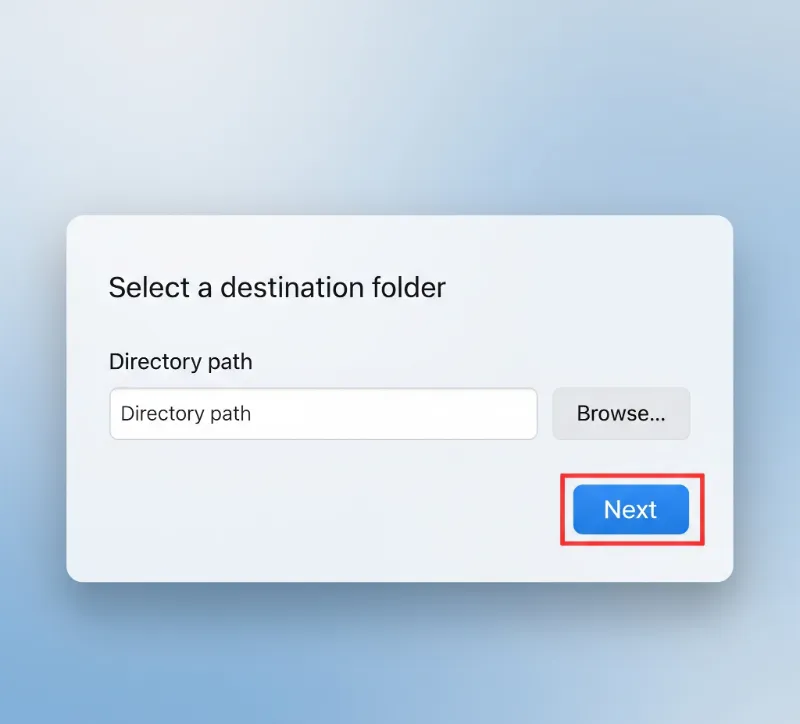
Step 6: Choose Installation Location
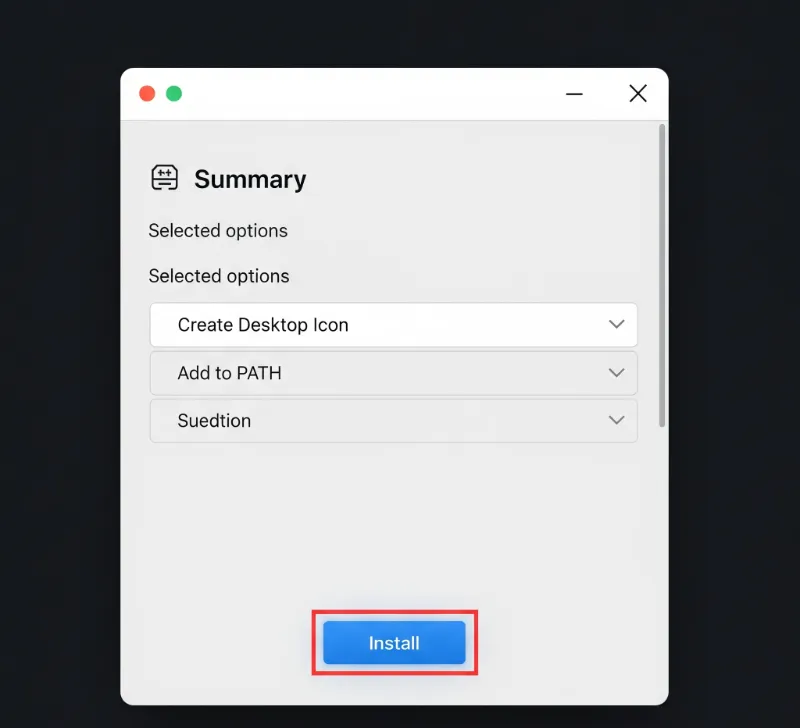
Step 7: Select Additional Tasks
You may be asked about additional tasks like:
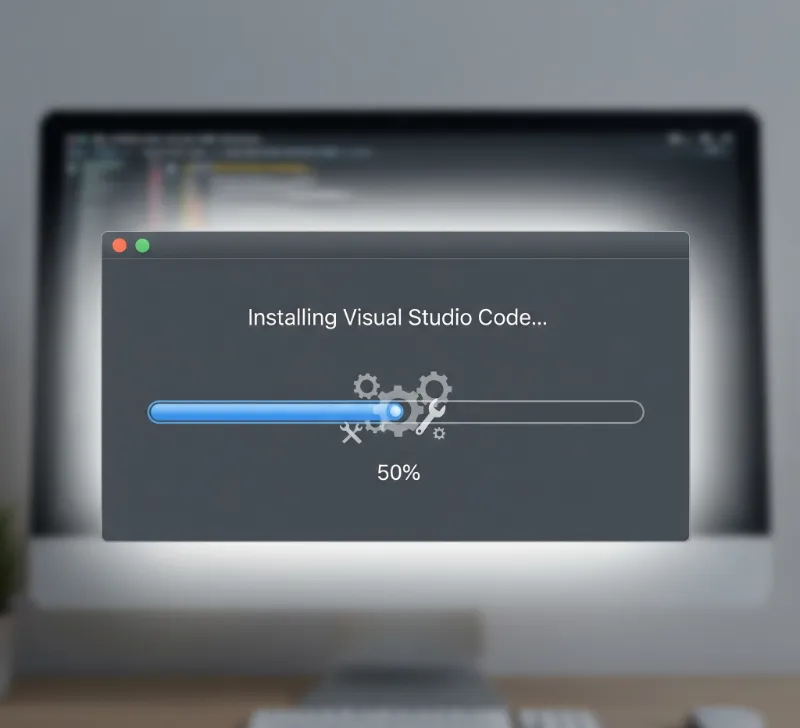
Step 8: Install
Click the Install button to begin installation.
It takes about 1 minute.
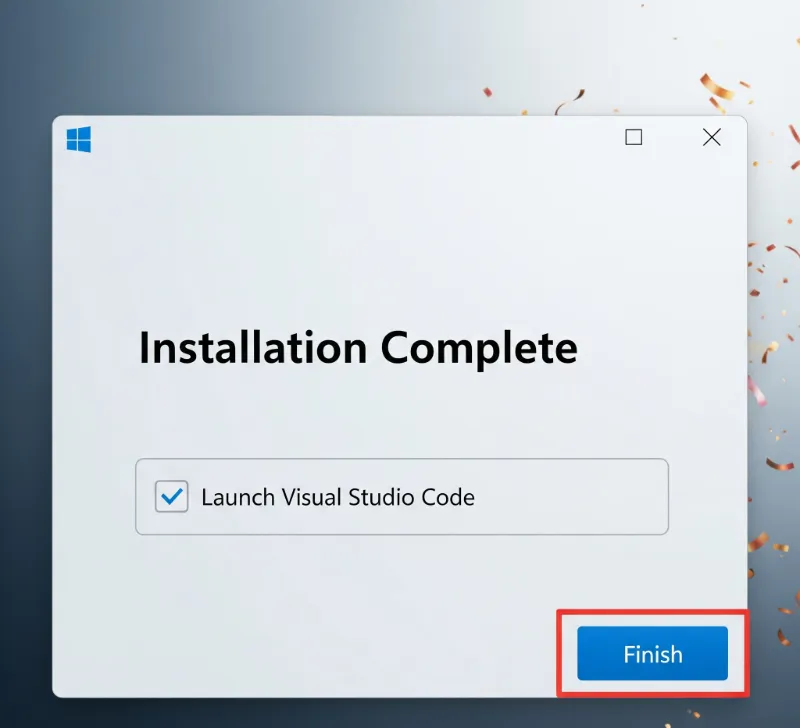
Step 9: Complete Setup
After installation:
Step 10: Start Coding
Visual Studio Code will open.
Click “File > New File”, choose your programming language, and begin your coding journey!
Double-click on the installer file to begin the installation process.
Step 5: Accept License Agreement
When the installer opens:
- Select "I accept the agreement"
- Click Next
Step 6: Choose Installation Location
- Choose or confirm the folder where VS Code will be installed (default is usually fine)
- Click Next
Step 7: Select Additional Tasks
You may be asked about additional tasks like:
- Creating a desktop icon
- Adding to PATH
Step 8: Install
Click the Install button to begin installation.
It takes about 1 minute.
Step 9: Complete Setup
After installation:
- Tick the box “Launch Visual Studio Code”
- Click Finish
Step 10: Start Coding
Visual Studio Code will open.
Click “File > New File”, choose your programming language, and begin your coding journey!
.webp)
You have successfully installed VS Code on your system.
Need more clarification?
Drop us an email at career@quipoinfotech.com