Java with VS Code IDE
If you are new to Java or coding in general, do not worry
Follow these simple steps to get everything set up on your computer using Visual Studio Code (VS Code). You will be writing your first Java program in no time.
Follow these simple steps to get everything set up on your computer using Visual Studio Code (VS Code). You will be writing your first Java program in no time.
Step 0:
Download Visual Studio Code from the official site: Download Now
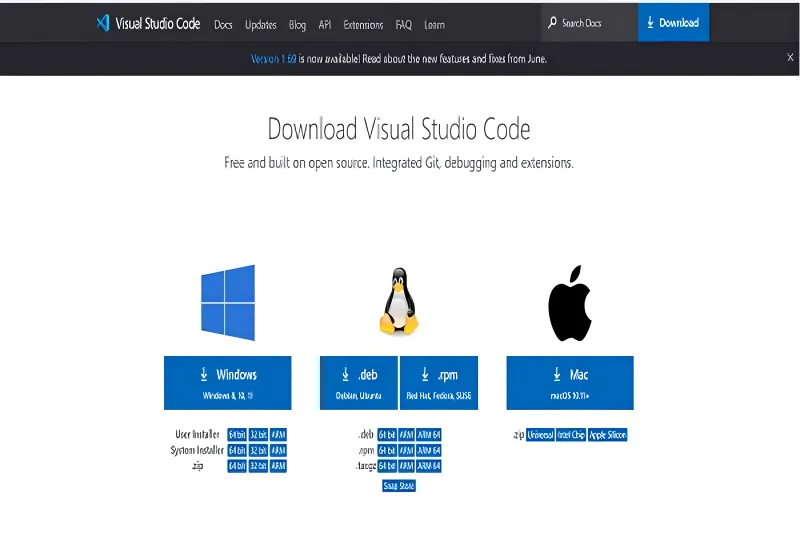
Choose the installer that matches your operating system (Windows, macOS, or Linux).
Download Visual Studio Code from the official site: Download Now
Choose the installer that matches your operating system (Windows, macOS, or Linux).
Step 1:
Run the downloaded .exe (or appropriate) file and install VS Code on your system.
Run the downloaded .exe (or appropriate) file and install VS Code on your system.

Step 2:
Install the Java Coding Pack:
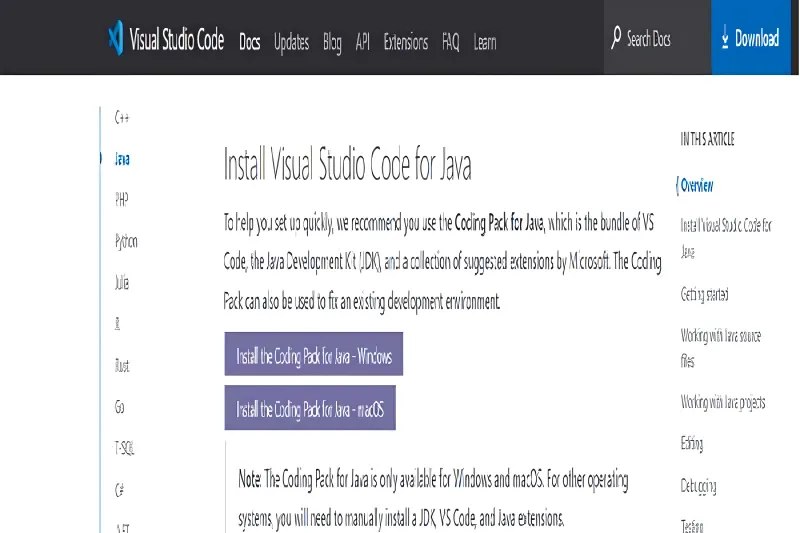
Click Install and wait for the setup to finish. This pack includes everything you need to run Java in VS Code.
Install the Java Coding Pack:
- For Windows: Install
- For macOS: Install
Click Install and wait for the setup to finish. This pack includes everything you need to run Java in VS Code.
.webp)
Step 3:
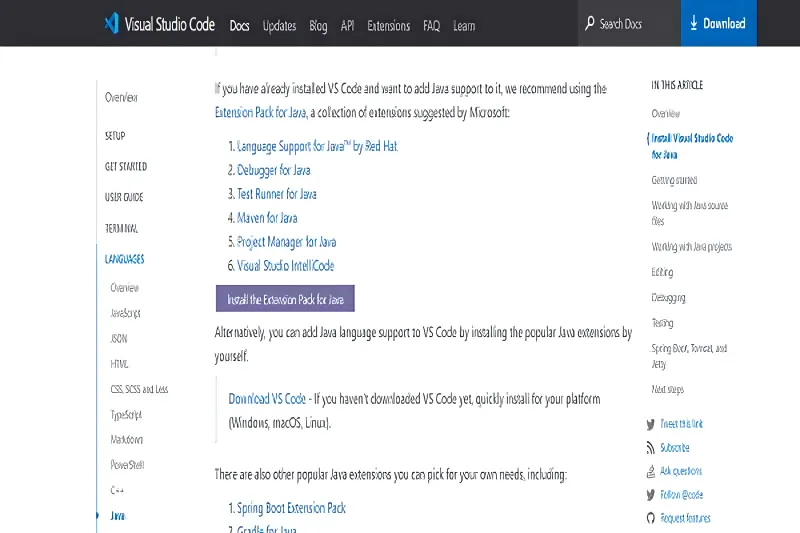
Install the Java Extension Pack in VS Code:
Click the following link or search manually in the Extensions tab in VS Code: vscode:extension/vscjava.vscode-java-pack
Install the Java Extension Pack in VS Code:
Click the following link or search manually in the Extensions tab in VS Code: vscode:extension/vscjava.vscode-java-pack
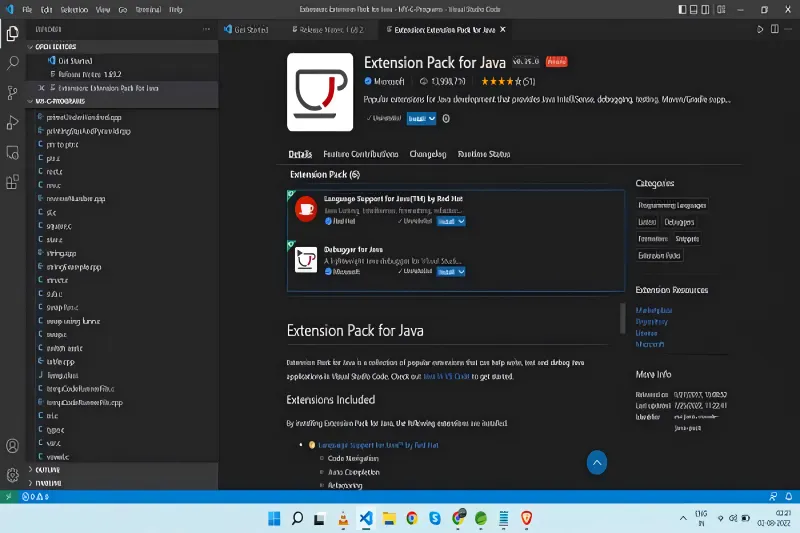
Step 4:
Install the extension pack in VS Code if it does not install automatically. This gives you tools like IntelliSense, debugging, and project management support for Java.
Install the extension pack in VS Code if it does not install automatically. This gives you tools like IntelliSense, debugging, and project management support for Java.
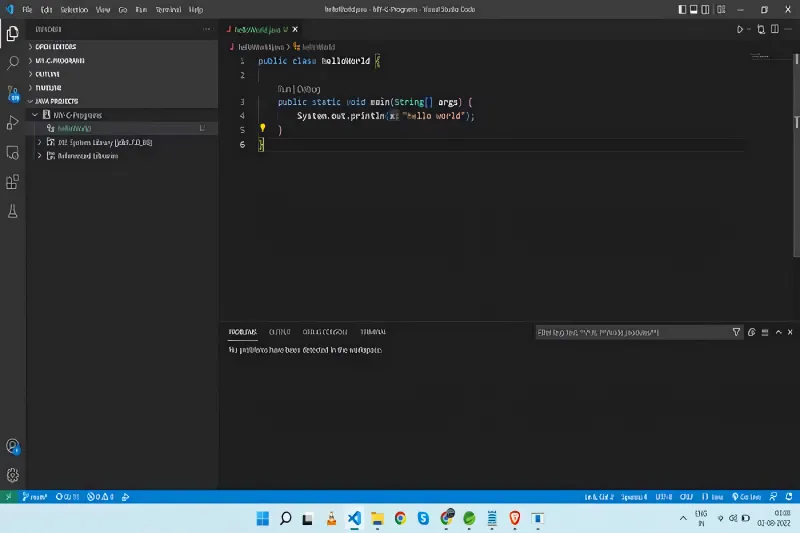
You have successfully set up Java in Visual Studio Code. You are now ready to create your first Hello World program!
Two Minute Drill
- Install JDK: Download and install Java Development Kit from Oracle’s website.
- Set JAVA_HOME: Add the JDK path to your system environment variables.
- Install VS Code: Download and install VS Code.
- Add Java Tools: Use the Java Pack Installer and Extension Pack.
- Test Your Setup: Create and run a simple HelloWorld.java file.
Need more clarification?
Drop us an email at career@quipoinfotech.com